We know that ladders are an essential piece of equipment that every house should have. From cleaning gutters to hanging Christmas decorations, they can make dangerous household activities safer as well as easier. However, there are more odd jobs around the house that do not involve ladders that we think you should know, well, at least someone in the house should know.
So, without further ado, here is Ladder UK Direct's list of top DIY tips...
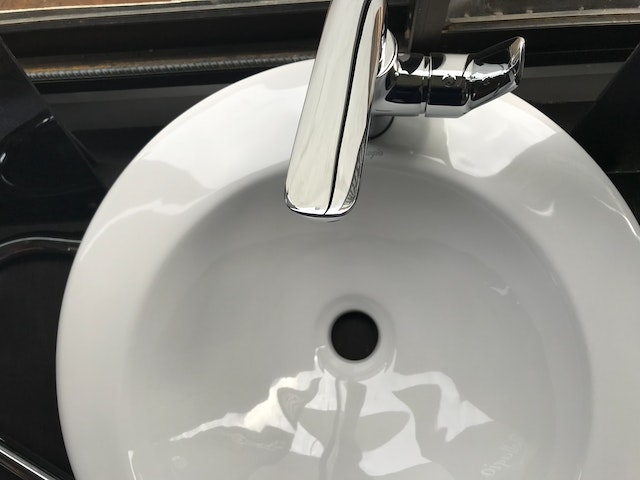
1. Unblocking a sink
To unblock a sink, the first thing to do is check there isn't any debris trapped in the plug hole. If it's not quickly clear what the problem is, try placing a plunger over the plug hole and allowing enough water to cover the rubber part. Proceed to push up and down quickly to force a jet of water through the waste pipes and dislodge the blockage.
Run the taps for a few minutes to flush away debris and unblock the overflow holes. If the blockage persists, bale out as much water as possible and place a bucket under the plastic trap directly under the sink. Unscrew the plastic collar at both ends of the trap (to gain more grip wrap a tea towel around the plastic). Remove the trap and clean. Screw back on and run the taps to check the blockage is clear.

2. Finding the stopcock
The majority of people do not know what a stopcock is, let alone know where to find it in their home. A stopcock is the mains water tap, which is the valve for turning off and on the water system in your home, therefore a very important household feature.
Stopcocks are commonly found in the kitchen below the sink unit but in some cases, they're in a front or back hall in a larder unit beside the sink. If you're still struggling to locate your stopcock, then just call a plumber.
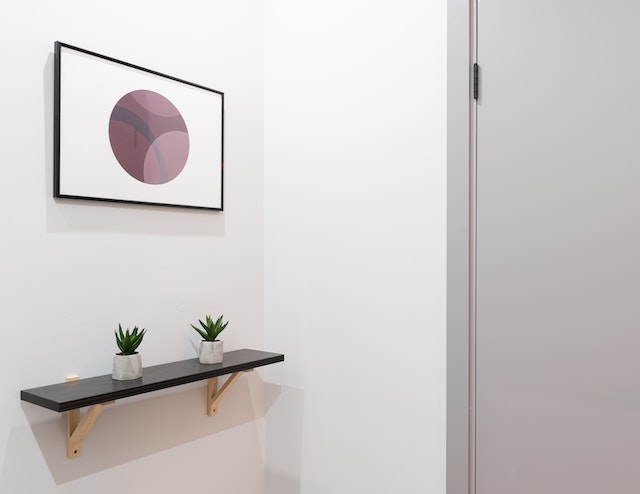
3. Installing a shelf
Before you actually put up a shelf, be sure to decide on the position of each one according to what you want to place on them. When you've decided, mark the heights on the wall with a pencil. Hold a spirit level at each spot to mark the positions of the fixing brackets.
In order to prevent shelves from sagging, ensure the brackets are no more than 600mm apart. Choose a drill bit that matches the rawl plugs that you'll be using, then drill into the wall. Manually push the rawl plugs into each hole so the ends are just showing. You can then attach the wall brackets by driving screws into the rawl plugs.

4. Hanging a picture
Position your picture flush against the wall in the exact spot you want to hang it. Then, using a pencil, mark the top central point on the wall. When choosing what to hang your picture on, always choose picture-hanging hooks over heavy-duty nails or screws as they are more secure and will hold up your picture better. Use two picture hooks per frame for added stability and to help keep the picture level.
Then put the picture face down on a flat surface and apply two D-rings to the back. Use a spirit level and a ruler to ensure that both picture hooks and D-rings are aligned when attached. In order to fix the hooks to the wall, insert the nail through the hole in the hook, hold the hook against the wall at the desired height and gently tap the nail all the way in.
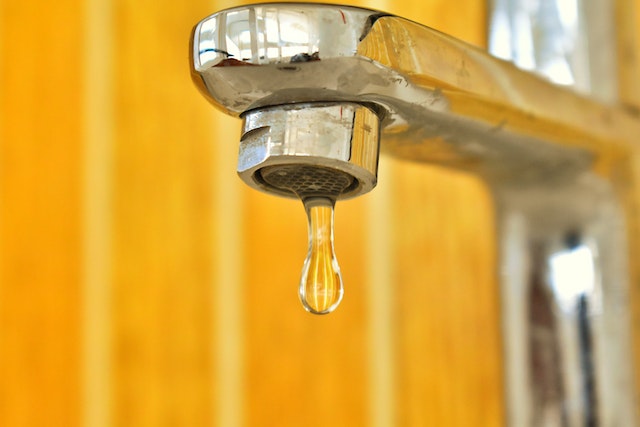
5. Fixing a leaking tap
The majority of drips can be stopped by replacing your washer. Be sure to turn off the water supply by deactivating the stopcock (you should know where that is now). Then, proceed to dismantle the head of the tap then unscrew the nut, which contains the rubber washer, on the tap making sure to hold the spout to avoid cracking your basin if it falls.
Using a set of pliers, remove the old washer from the pin and replace it with a new one using a lubricating substance such as petroleum jelly if you find it's a little bit of a tight fit. Reassemble the tap in reverse order and the leak should be fixed.

6. Bleeding a radiator
Before bleeding a radiator, be sure to turn off your central heating at the main controls in order to prevent more air entering the system. Then, locate the bleed valve, which is usually a small red handle found on one side of the radiator. Place a small bowl underneath the valve to catch any leaking water.
Insert the bleed key that came with your radiator into the valve and turn it anticlockwise no more than half a turn to allow the trapped air to escape. If water starts to drip from the valve, this will signal that all the air has leaked out. Tighten the valve and turn the central heating system back on.
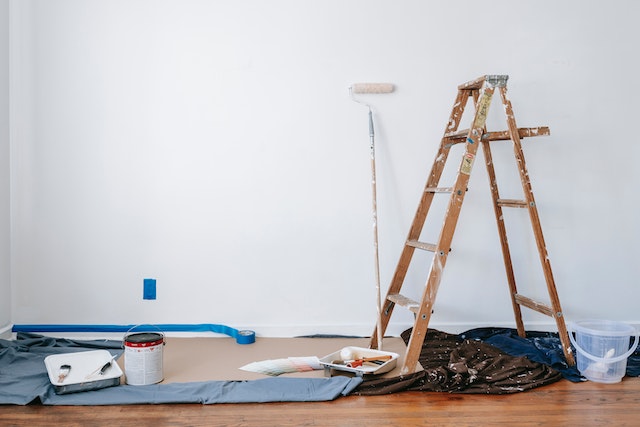
7. Painting a wall
Before you even think about picking up a paintbrush, be sure to have scraped, sanded and filled every hole and imperfection on your wall. Use a paint primer to stop stains bleeding through and to improve the adhesion of the paint. Lay down dust sheets prior to protect all carpets and surfaces.
Cover the edges of light switches in masking tape and paint around this area using a hand-held paintbrush. For larger areas, use an extension paint roller with a metal core as these provide far greater stability when you're painting.
Fill the paint tray halfway with your chosen paint and dip your roller into it, ensuring you roll it down the tray's rigid slope to work the paint further into the sponge. Apply the paint to the wall in a zigzag fashion as if you are drawing a large M-shape and use similar movements to fill in the blanks.

8. Rewiring a plug
As long as all wires are connected properly, rewiring a standard plug should be a simple DIY task. The live (brown) wire connects to the right-most live (L) terminal nearest to the fuse. The neutral (blue) wire connects to the left-most neutral (N) terminal. The earth (green and yellow) wire connects to the central, top-most (E) terminal. Remove the screw on the pin side of the plug and take off the cover.
Loosen the screws on the terminals and cord clamp. Use pliers to remove enough of the plastic covering on the main cable to allow each wire to reach their terminals. Again, use pliers to trim the coloured cable to reveal 10mm of copper cable. Twist the copper strands together then feed them into their perspective terminals and reattach the screws.
9. Tightening a door handle
Tightening a door handle is a lot easier than you may think and takes to time at all. Before you start, make sure you have the correct size screwdriver. If you use the incorrect screw head, you risk damaging the screws and make tightening and removing more difficult at a later stage.
With the door open, hold the base of the handle firmly with your free hand. Using the screwdriver, tighten the screws clockwise on the door side nearest to you. When the screws on one side are tightened, change sides and repeat the process to tight the other side.

10. Fitting a lightbulb
Over time, fitting a lightbulb has become more difficult due to light fittings now coming in a variety of shapes and sizes with a wide range of bulbs to match, resulting in a DIY nightmare.
The first thing you need to do is find out what bulb you need. Bulb options include LED, fluorescent, tungsten, incandescent and energy-saving. Then think about the wattage. Bulbs with higher wattage produce more light but consume more energy.
The wattage is not the measurement if brightness because different bulbs are more or less efficient in converting electrical power to light. By using the incorrect wattage, you can permanently damage the light fixture and can even be dangerous for you. If you're fitting conventional bulbs, check whether you need a bayonet or screw fitting. Before replacing a bulb, turn off the switch and wait 10 minutes for the old build to cool down. Ensure to keep all switches off when replacing any bulb.
More modern spotlights look stunning in ceilings, but changing them can be tough. Again start by switching off the power, then stand in a stool or step ladder to get as close as you can to the fitting. An added DIY tip is to wear rubber gloves as these give your fingers more grip on the spotlight. If you don't have gloves, try sticking blu-tack to the metal surround to provide more grip.
Push the metal spotlight casing upwards into the fitting and twist the whole thing anti-clockwise to release it. Once loosened, it should fall away quite easily. Remove any glass, then the dead bulb. Hold the new bulb up to the fitting with the prongs pointing upwards.
Move up close to see the space where the prongs of the bulb should fit then insert gently into the fitting. Getting the bulb and its prongs lined up can be tricky and may take a few tries. Once the bulb is secured, reverse the process for reattaching the rest of the light.
And there you have it, the top DIY tips that every homeowner should know. By adding these DIY skills to your arsenal, you should be able to fix any common issue likely to occur around the house. Some of these tasks will require a ladder of some sort, so, if you're in need of a new one or don't have one at all, you can browse our full collection below.
Our Ladders >

 Ladders
  Step Ladders
  Loft Ladders
  Scaffold Towers


